The popup asks you to sign in
Open the DemoFast dashboard, sign in, then reopen the extension popup.
DemoFast tutorial
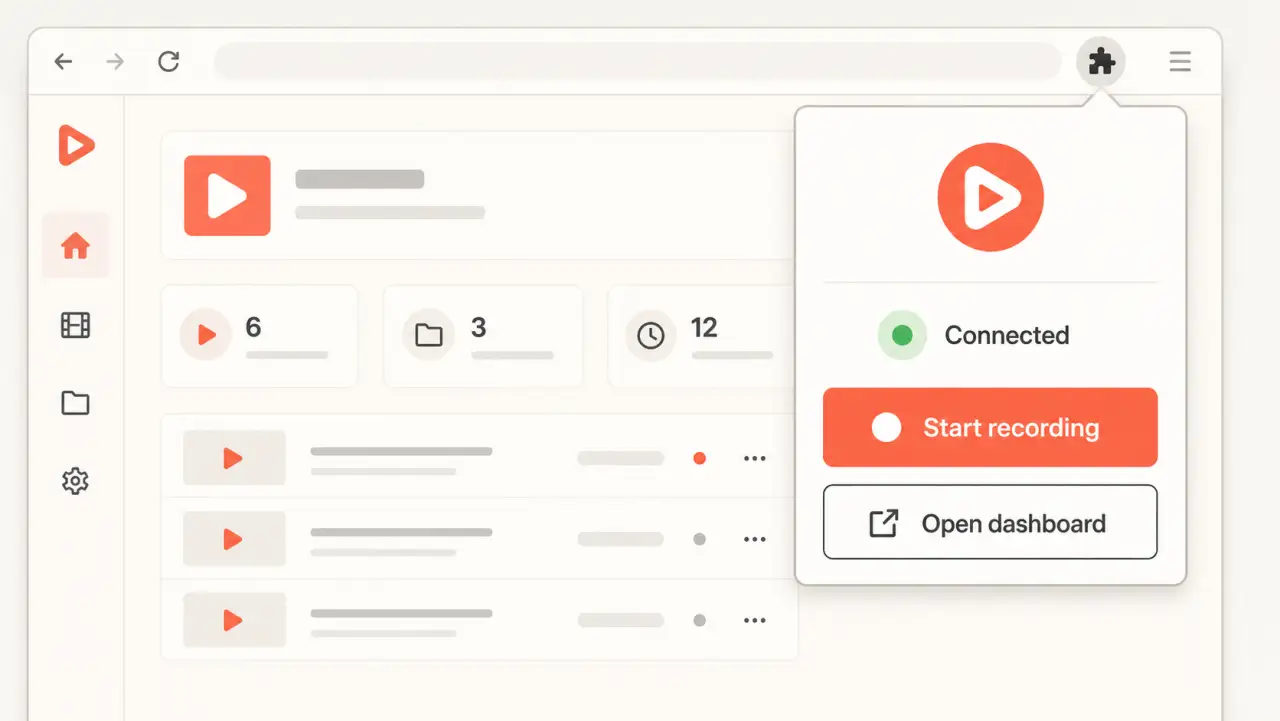
Install the current Chrome extension, connect your DemoFast account, and select the workspace where new recordings should be saved.
Before you begin
Step by step
From the DemoFast dashboard, choose Get extension. Chrome opens the official DemoFast listing in the Chrome Web Store.
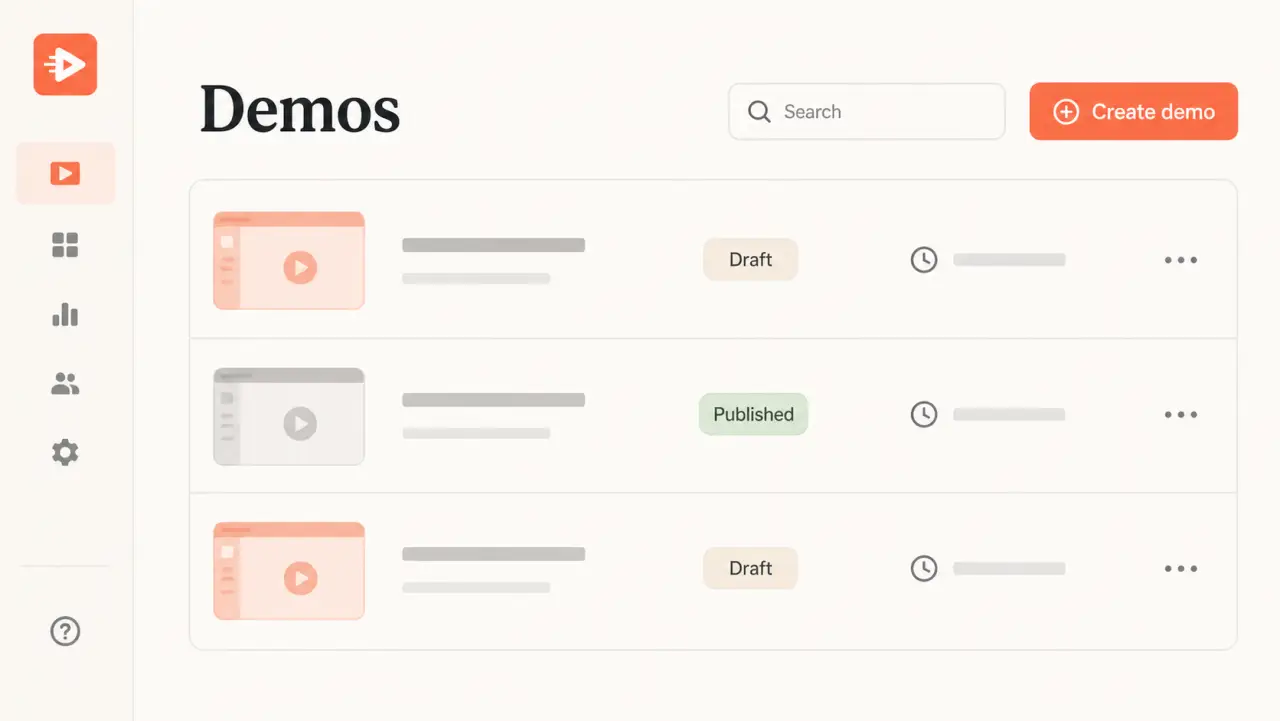
Install the extension and keep it visible from Chrome's Extensions menu if you plan to record frequently.
Sign in at app.demofa.st. The web app sends the authenticated account and current workspace to the extension.
Open the DemoFast extension, confirm your account is shown, and select a workspace that allows demo creation.
Troubleshooting
Open the DemoFast dashboard, sign in, then reopen the extension popup.
Select a workspace where you have creator access or ask a workspace owner to update your role.
Related product guide
Learn how DemoFast turns browser interactions into editable steps.